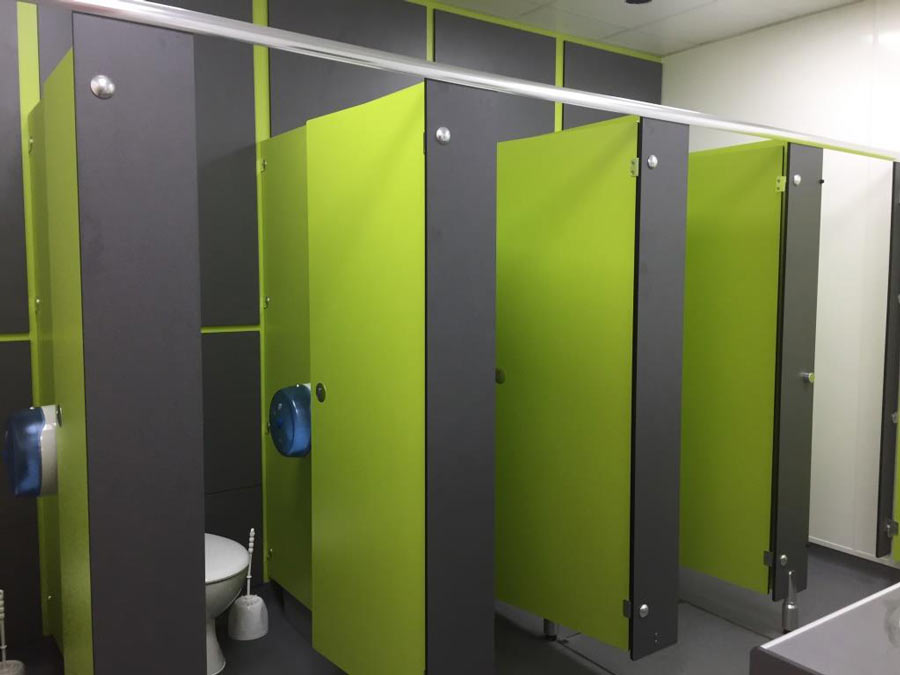
A Comprehensive Guide to Toilet Refurbishment

The bathroom is one of the most essential spaces in our homes, and a well-maintained toilet plays a crucial role in our daily lives. Over time, wear and tear can take a toll on this essential fixture, leading many homeowners to consider a toilet refurbishment. Whether you’re aiming for a stylish upgrade or addressing functionality issues, understanding the procedure of toilet refurbishment is key to achieving a successful transformation. In this comprehensive guide, we’ll walk you through the step-by-step process of giving your throne room a much-needed facelift.
Assessment and Planning:
Before diving into the refurbishment process, conduct a thorough assessment of your current toilet. Identify any visible damage, leaks, or outdated features. Consider your budget and aesthetic preferences, and then create a detailed plan outlining the changes you want to make. This stage is crucial for a smooth and well-organised refurbishment.
Gathering Supplies:
Once you’ve outlined your refurbishment plan, gather all the necessary supplies. This may include a new toilet bowl and tank, plumbing tools, replacement parts, flooring materials, paint, and any additional fixtures or accessories you plan to install.
Alternatively, you can opt for an experienced washroom refurbishment, Essex company such as County Washrooms to conduct all this work for you. This will enable you to concentrate on the daily operations of your business without having to worry a
Preparation:
Before removing any fixtures, it’s essential to turn off the water supply to the toilet and disconnect it from the plumbing. Remove any accessories, such as toilet paper holders or towel racks, that might get in the way. Cover the floors with protective material to prevent damage during the refurbishment process.
Removal of Existing Fixtures:
Carefully remove the existing toilet bowl, tank, and any other fixtures slated for replacement. Be cautious during this step to avoid causing damage to the surrounding area. Dispose of old fixtures responsibly, following local regulations for waste disposal.
Plumbing Inspection and Repairs:
With the old fixtures removed, it is important to make sure you inspect the plumbing for any signs of damage or leaks. A washroom refurbishment company will replace any worn-out parts, such as wax seals or flanges, and ensure that the plumbing is in good condition. This step is crucial to prevent future issues and maintain the efficiency of your toilet.
Installation of New Fixtures:
Install the new toilet bowl and tank according to the manufacturer’s instructions. Double-check the alignment and make sure that all connections are secure. If you’re replacing other fixtures, such as a vanity or flooring, complete these installations at this stage.
Finishing Touches:
Once the new fixtures are in place, add the finishing touches to complete the refurbishment. This may include painting the walls, installing new accessories, and adding decorative elements to enhance the overall aesthetic of the space.
Testing and Final Checks:
Turn on the water supply and test the newly installed toilet for any leaks or issues. Ensure that the flushing mechanism is functioning correctly and that there are no unusual sounds or odours. Conduct a final inspection to make sure all elements of the refurbishment meet your expectations.
Toilet refurbishment is a rewarding home improvement project that can enhance both the functionality and aesthetics of your bathroom. By following these step-by-step procedures, you can transform your throne room into a stylish and efficient space that meets your needs and reflects your taste. Don’t hesitate to seek professional assistance if needed, and enjoy the satisfaction of a revitalised bathroom space.
Get in touch with a member of our experienced team today for a specialist quote for your washroom refurbishment.

0 comments